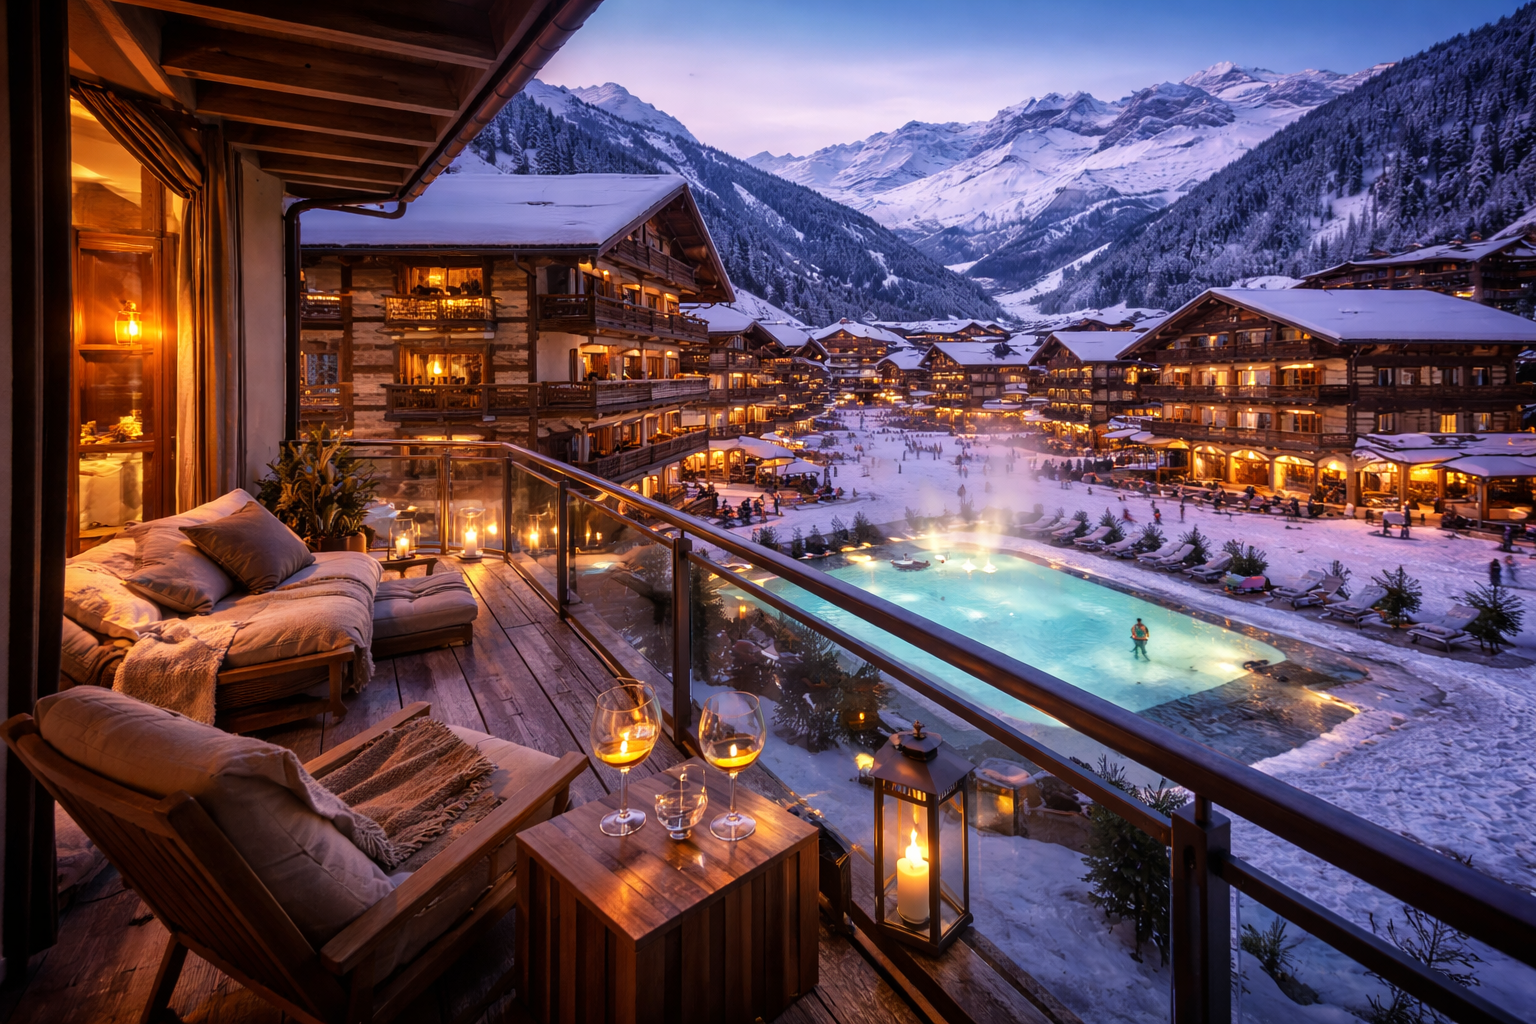
Renting skis or a snowboard online has become the standard for many ski travelers. It allows you to plan ahead, compare options, and arrive at the resort knowing your equipment is already sorted.
This guide walks through how online ski rental works from start to finish, based on the real booking flow used by modern comparison platforms like alpy.com, without queues, last-minute decisions, or unnecessary stress.
Why Many Skiers Choose to Rent Online
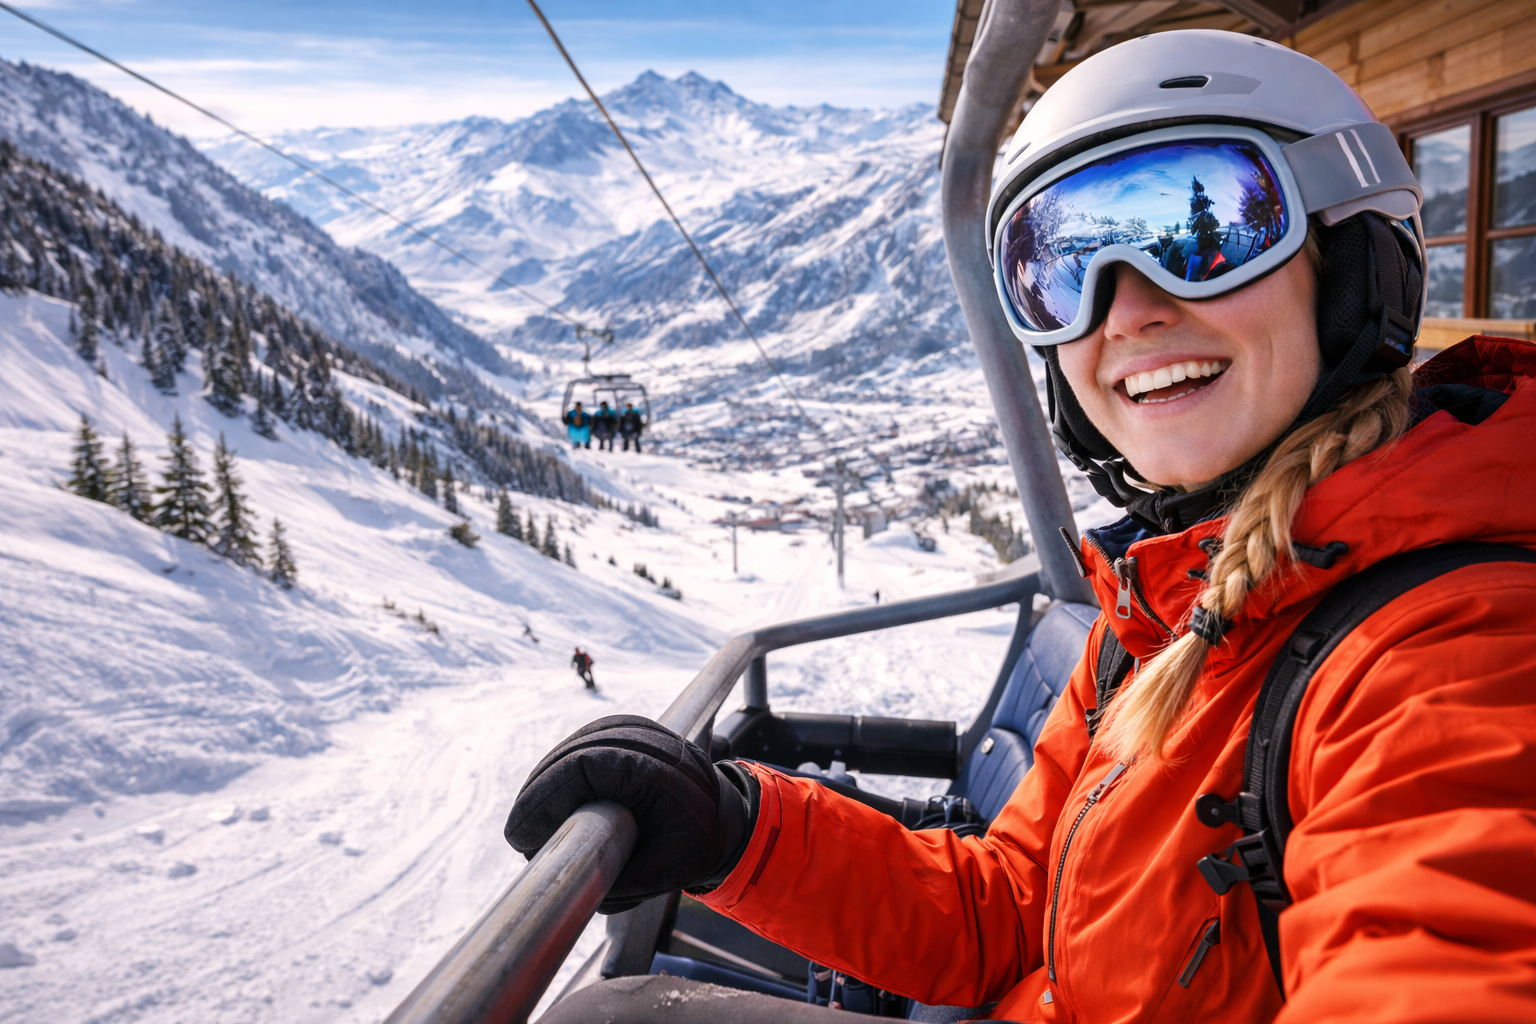
For travelers who ski occasionally or fly to their destination, renting equipment is often the most practical option.
As Condé Nast Traveler recently noted:
“For occasional skiers, renting skis, snowboards, and boots is often the most practical move.”
Online rental adds another layer of convenience by letting you make decisions before you arrive, rather than standing in a busy shop after a long journey.
Step 1: Choose Your Destination, Dates, and Who Is Renting
Online ski rental usually starts by selecting:
- Your ski resort
- Your rental dates
- How many people are renting
You’ll also enter ages for each person, which helps differentiate between:
- Adults
- Teenagers
- Children
This step matters because equipment categories, sizing, and pricing often differ by age group — especially for children and teenagers.
If you have a promo code, this is usually where you add it. Any available discount is applied immediately, so you see the adjusted price upfront. If you don’t have one yet, signing up for the alpy.com newsletter is a simple way to receive occasional promo codes and special rental discounts.
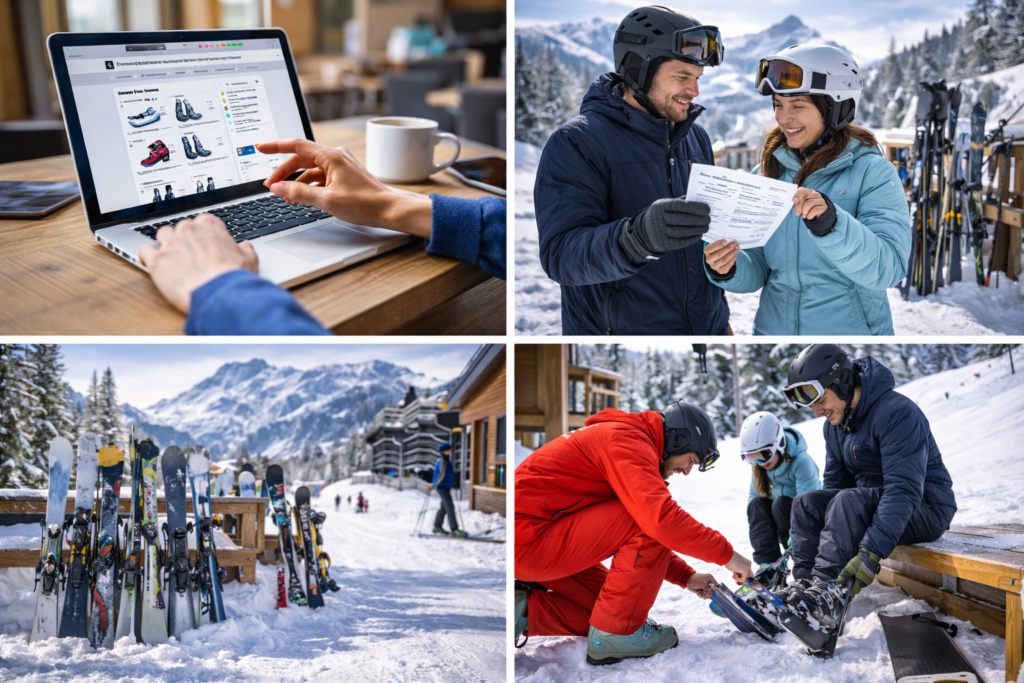
Step 2: Compare Rental Shops Using Filters That Matter
With your trip details set, the next step is comparing rental shops in your destination.
At this stage, you can filter and sort shops by:
- Price
- Distance from the city or resort center
- Distance from your accommodation
If accommodation details are entered, the platform can automatically highlight the nearest rental shops, making it easier to choose a location that fits naturally into your daily routine.
These filters help you balance cost, location, and convenience, especially in resorts with many rental options.
Once you’ve found a shop that works for you, you select it and move on to equipment.
Step 3: Choose Skis or a Snowboard for Each Person
After selecting your preferred rental shop, you choose what each person will rent:
- Skis or snowboard
- Age category (adult, teenager, child)
The available options are defined by the rental shop and reflect differences in equipment quality or comfort. You don’t need to be an expert, final recommendations and adjustments can always be made in the shop.
Step 4: Add Boots, Helmet, and Insurance
Once the main equipment is selected, you can add essential extras, such as:
- Ski or snowboard boots
- Helmet
- ALPYGUARANTY, an optional insurance covering damage or theft
Adding these items at this stage ensures everything is reserved together and ready at pickup, rather than needing to make decisions in a busy rental shop.
Insurance is optional but can be useful for peace of mind, especially for families, beginners, or longer trips.
Step 5: Enter Your Details So Equipment Can Be Prepared
To prepare the equipment correctly and safely, you’ll be asked for:
- Height
- Weight
- Age
- Shoe size
- Skiing or snowboarding ability (beginner, advanced, or expert)
This information allows the rental shop to:
- Choose the correct ski or snowboard size
- Adjust bindings safely
- Prepare boots that fit comfortably
- Match equipment to ability level
Final tweaks can always be made at pickup, but entering accurate details helps keep the process quick and smooth.
Step 6: Pick Up Your Equipment at the Resort
Once you arrive:
- Go to the rental shop you selected
- Show your booking confirmation
- Try on boots and helmet
- Make any final adjustments if needed
Because everything is prepared in advance, pickup is usually quick — even during busy periods.
Step 7: Adjust or Swap If Needed
A major advantage of renting is flexibility. If conditions change or something doesn’t feel right, most rental shops allow adjustments or swaps.
As Condé Nast Traveler highlights:
“Rentals also give you the freedom to adjust to changing conditions—a subtle detail that can make a long day on the mountain feel seamless.”
This is particularly useful for beginners, families, and trips with variable snow conditions.
Step 8: Return the Equipment at the End of Your Stay
At the end of the rental period, equipment is returned to the same shop.
Return times vary slightly by shop, but are typically:
- Before closing time on the final rental day
- Sometimes flexible for early departures
Return details are shown clearly during booking.
Online Ski Rental FAQ
1. Can I add boots and helmets when renting online?
Yes. Boots and helmets can be added during the booking process so everything is ready at pickup.
2. What is ALPYGUARANTY, ALPINSAFETY and ALPINFLEXI?
ALPYGUARANTY is an optional insurance that covers damage or theft of rental equipment during your rental period.
ALPINSAFETY is a personal injury insurance that covers medical assistance, search and rescue, and transport to the nearest hospital if you are seriously injured while using rented winter sports equipment during your ski holiday.
ALPINFLEXI is a flexible cancellation protection that allows you to change or cancel your ski rental booking up until 08:00 am the day before the first rental day and receive an immediate refund.
3. Can I rent for children and teenagers?
Yes. Age categories ensure children and teens receive properly sized and safety-appropriate equipment.
Final Thoughts
Online ski rental removes much of the friction from a ski trip. By comparing shops first, choosing equipment and extras in advance, and entering details upfront, you save time, avoid queues, and arrive knowing everything is prepared.
For many skiers and snowboarders, it’s simply the easiest and most practical way to rent equipment, especially when traveling. Plan ahead and reserve your skis or snowboard online with alpy.com so everything is ready when you arrive at the resort.